
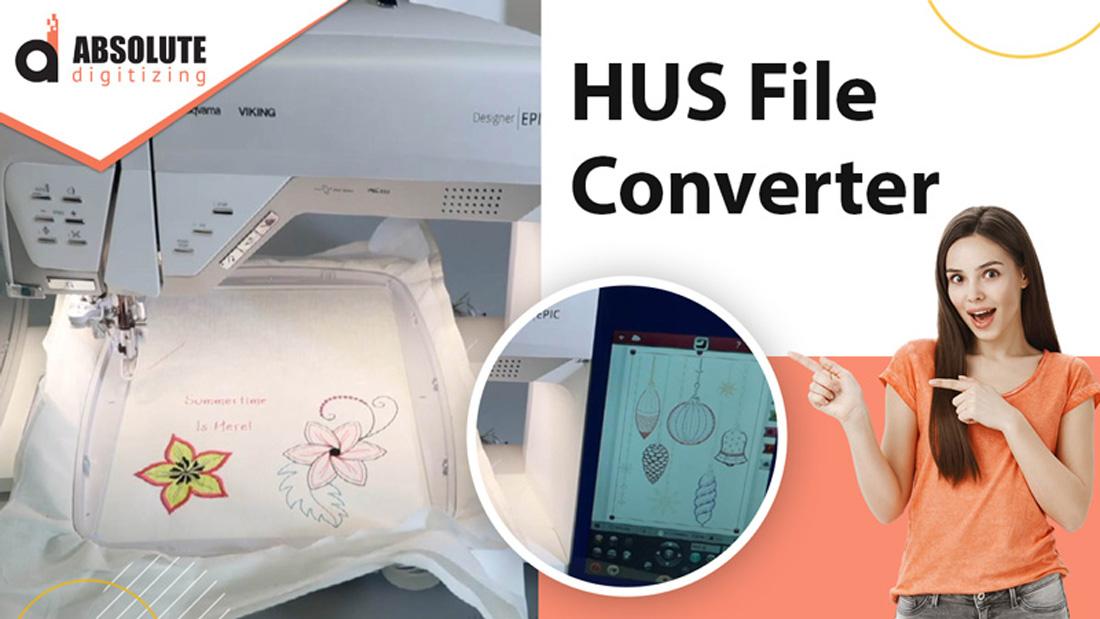
You’ve found the perfect JPG—a crisp logo, a delicate floral sketch, or a family crest that’s begging to be stitched—and you’re ready to bring it to life on your Husqvarna Viking or Pfaff machine. The excitement is real, but here’s the truth most beginners learn the hard way: simply loading that JPG into digitizing software and hitting “convert” rarely produces magic. HUS files demand thoughtful preparation long before any stitch gets assigned. Rush the prep, and you’ll fight jagged edges, muddy colors, excessive stitch counts, and designs that pucker or sink. Take the time to treat your image like a blueprint instead of a snapshot, and the conversion becomes smooth, the stitches clean, and the finished embroidery something you’re proud to show off. That’s the real difference when you convert JPG to HUS embroidery files.
Why Preparation Matters More Than the Software Itself
Digitizing software—whether Hatch, Embrilliance, or Wilcom—can only work with what you give it. Feed it a messy, low-res JPG full of compression artifacts and subtle gradients, and even the best auto-trace will struggle. The machine ends up guessing at edges, adding unnecessary stitches, or flattening details into blobs. Proper preparation removes those guesses, giving the software clear shapes, strong contrast, and a limited palette that translates directly into clean satin columns and balanced fills. You’re not just converting; you’re engineering the design for thread.
Start with the Highest-Quality Source You Can Get
Resolution is non-negotiable. A 300-pixel logo pulled from a website will pixelate the second you scale it to embroidery size. Aim for at least 1000–1500 pixels on the longest side. If your original is small, upscale intelligently rather than just stretching pixels. Clean sources preserve fine details like thin serifs on lettering or subtle texture in illustrations. The better the starting point, the less manual cleanup you’ll face later.
Crop Ruthlessly and Center the Action
Loose compositions waste hoop space and inflate stitch counts. Crop tightly around the subject, leaving only enough margin for a satin border or placement guidelines. Center the design so it sits balanced in the hoop. Removing unnecessary background reduces file complexity and keeps the focus where it belongs—on the artwork itself.
Crank Contrast and Define Every Edge
Thread needs clear boundaries. Increase contrast aggressively so lights separate from darks and midtones stand out. Sharpen edges slightly to make outlines crisp without introducing noise. The goal is a high-definition roadmap that digitizing tools can follow precisely. Fuzzy transitions become random stitches; defined edges become perfect satin or running lines.
Reduce Colors Aggressively but Intelligently
Embroidery isn’t digital printing—six to ten colors is usually the sweet spot. More shades mean more thread changes, longer run times, and higher risk of visible mismatches. Use posterize or cutout effects to block areas boldly. Merge close tones thoughtfully so you preserve mood without sacrificing efficiency. Fewer stops make the design friendlier to stitch and easier on your thread stash.
Eliminate or Simplify Backgrounds
Busy or gradient backgrounds add stitches that serve no purpose. Remove them completely for standalone motifs or simplify to one solid shade if the background is part of the design. Transparent or single-color backgrounds let the subject breathe and keep the focus sharp.
Thicken Lines and Enlarge Small Details
Anything thinner than about 1–1.5 mm tends to disappear or fray under thread. Widen fine outlines and small text during prep. Enlarge tiny elements that might get lost at final scale. These small adjustments ensure delicate features survive the digitizing and stitching process intact.
Consider Final Size and Fabric Early
Think about where the design will live—left-chest polos need compact clarity, jacket backs can handle more detail. Resize the image to approximate the finished size while checking how small elements hold up. Fabric choice matters too: knits demand extra underlay, towels need lighter density. Planning ahead avoids last-minute surprises.
Save in a Smart Format
Export your prepared image as a high-quality PNG with transparency or an SVG if you’ve vectorized. These formats give digitizing software the cleanest possible input. Keep the original layered file so you can revisit adjustments later.
Final Thoughts
Preparing a JPG properly transforms the entire embroidery process from trial-and-error into confident creation. You’re not just handing software an image—you’re giving it a roadmap that leads straight to beautiful, professional stitches. Clean edges, thoughtful color reduction, and strategic sizing eliminate most common problems before they start. Your Husqvarna Viking or Pfaff machine will reward the effort with smooth runs, vibrant colors, and designs that look intentional rather than improvised. Next time you fall in love with a JPG, slow down, prep it like it matters—because it does. The finished embroidery will thank you, and so will everyone who sees it.