
You have a design on paper, a logo on your computer, or a sketch on a napkin. You want it embroidered on uniforms, hats, or promotional items. Between that flat artwork and the finished product lies a fascinating transformation. Pixels become paths. Paths become stitches. Stitches become texture and color and meaning. This transformation is the work of professional Embroidery Digitizing Services. Understanding what happens during that journey helps you appreciate the craft and get better results.
Embroidery digitizing is part art, part science, and entirely magical when done right. It takes your two-dimensional design and translates it into a three-dimensional thread sculpture that can be touched, worn, and admired. Let me walk you through the complete journey from artwork to stitches.
Step 1: The Artwork Arrives
Every embroidery project starts with artwork. Maybe it is a vector file from a graphic designer. Maybe it is a JPEG from a client's website. Maybe it is a scanned sketch on a piece of paper. Whatever the form, this is the seed from which everything grows.
What happens at this stage: The digitizer receives your artwork and takes a first look. They assess its quality, complexity, and suitability for embroidery. They identify potential trouble spots. Tiny text that might fill in. Fine lines that might disappear. Gradients that need simplification.
What you can do to help: Provide the cleanest, highest-resolution artwork possible. Vector files are ideal. If you only have raster images, use at least 300 DPI at your intended stitch size. The better your source, the better your result.
Step 2: Artwork Analysis and Preparation
The digitizer does not just start clicking buttons. They study your design first.
They consider the fabric. A logo destined for denim needs different treatment than the same logo for performance knit. They ask about your material or make educated assumptions based on common applications.
They consider the placement. Left chest, cap front, jacket back, each location has unique requirements. Size limits. Curvature. Visibility. They file these considerations for later decisions.
They consider the brand. Corporate logos have strict guidelines. Colors must match. Proportions must stay true. They note any special requirements.
They prepare the artwork. If you sent a raster image, they may clean it up. Remove background noise. Smooth jagged edges. Simplify complex areas. This preparation ensures the digitizing software has clean data to work with.
Step 3: Choosing Stitch Types
This is where the real artistry begins. The digitizer looks at each element of your design and decides how it should stitch.
Satin stitches work for borders, text, and narrow columns. They create smooth, shiny edges that define shapes clearly. The digitizer assigns satin to letters, outlines, and any element that needs a polished look.
Fill stitches (tatami) cover large solid areas. They create a textured surface that looks consistent from a distance. The digitizer uses fills for backgrounds, large shapes, and areas too wide for satin.
Running stitches handle fine lines, details, and underlay. They move quickly and provide structure without adding bulk.
Specialty stitches come into play for specific effects. 3D puff requires special handling. Applique needs placement lines and tack-down stitches. Chenille uses looped stitches for texture.
The digitizer makes these choices intentionally, based on experience and the specific needs of your design.
Step 4: Setting Stitch Angles
Stitch angle might sound like a minor detail, but it dramatically affects the final look. Light reflects off thread differently depending on direction.
The digitizer varies angles intentionally. Background stitches at 45 degrees. Text at 90 degrees. Borders perpendicular to their edges. This variation creates visual interest and helps different elements stand apart.
Angle also affects stability. Alternating angles between layers creates a plywood effect that resists distortion. The digitizer considers this when planning the design.
For curved elements, they may use contour stitching that follows the shape. This enhances the natural flow and creates smooth, professional results.
Step 5: Adding Underlay
Underlay is the secret foundation of professional embroidery. You never see it, but you would notice immediately if it were missing.
Underlay stabilizes fabric. It prevents shifting during stitching, especially on stretchy materials. Without it, designs distort and misalign.
Underlay creates a smooth foundation. It lifts top stitches slightly, making them look neater. It helps cover fabric color so your design pops.
Underlay prevents sinking. On loose weaves like fleece or terry, stitches would disappear without underlay. Underlay creates a platform that keeps them visible.
Different fabrics need different underlay. The digitizer selects the right type and density for your specific material. Edge run for stable wovens. Center run for stretchy knits. Heavy underlay for fleece.
Step 6: Applying Pull Compensation
Thread tension pulls fabric together slightly as you stitch. A column designed to be half an inch wide may end up narrower. Pull compensation counteracts this effect.
The digitizer widens certain areas in the software so that after pulling, they end up the correct size. This is not guesswork. It is calculated based on fabric behavior.
Different fabrics need different compensation. Stretchy knits pull more, requiring higher values. Stable wovens pull less, needing lower values.
Without proper compensation, designs stitch out smaller than intended. Outlines no longer align with fills. Text looks squeezed. The digitizer ensures this does not happen.
Step 7: Setting Density
Stitch density controls how close stitches sit together. This affects coverage, feel, and durability.
Too dense causes puckering, thread breaks, and stiff fabric. The design feels like plastic and may crack over time.
Too light leaves gaps where fabric shows through. Colors look washed out. The design lacks impact.
The digitizer balances density for your specific fabric and design. Light fabrics may need slightly higher density to prevent show-through. Heavy fabrics may need lower density to prevent stiffness.
They also consider thread weight. Thicker threads need lower density to avoid buildup. Thinner threads can stitch closer together.
Step 8: Optimizing Stitch Path
The order in which the machine stitches affects production time and final quality. A well-optimized path keeps the machine running smoothly.
The digitizer plans color sequence logically. Group similar colors together. Stitch small details first, then larger areas. Minimize thread changes.
Within each color, they optimize the stitch path. Connect areas that can stitch continuously. Minimize jumps across open spaces. When jumps are necessary, make them as short as possible.
They use software tools to simulate the stitching sequence and identify inefficiencies. Every unnecessary movement gets eliminated.
For bulk production, this optimization saves hours. A file that adds 30 seconds per piece adds over four hours to a 500-piece run.
Step 9: Adding Tie-Ins and Tie-Offs
Tie-ins secure the beginning of a stitch sequence, preventing thread from pulling out. Tie-offs secure the end, preventing unraveling.
The digitizer places these strategically. Small stitches that anchor without creating bulk. Hidden where they will not show.
Jump stitches between elements also get attention. Long jumps across open areas create loose threads that can catch. Strategic placement of trims and tie-offs minimizes this risk.
Step 10: Quality Review
Before any file reaches you, it undergoes rigorous quality checks.
Virtual simulation shows how the design will stitch. The digitizer watches the entire sequence, looking for problems. Pathing issues. Density concerns. Registration errors.
Color verification ensures thread assignments match your brand. If you provided specific colors, they confirm accuracy.
Size confirmation verifies the design matches your specifications. No guessing. No assumptions.
Test stitches on sample material catch issues that screens cannot reveal. Many professional services run physical tests before delivery.
Step 11: File Delivery
Your finished design arrives in the format your machine needs.
DST for most commercial machines. PES for Brother and Babylock. EXP for Melco. VP3 for Pfaff and Viking. Whatever your equipment requires.
Color sheets often accompany the file, showing thread assignments and stitching sequence.
Master files may be available if you need them. These editable versions let you make future changes without redigitizing.
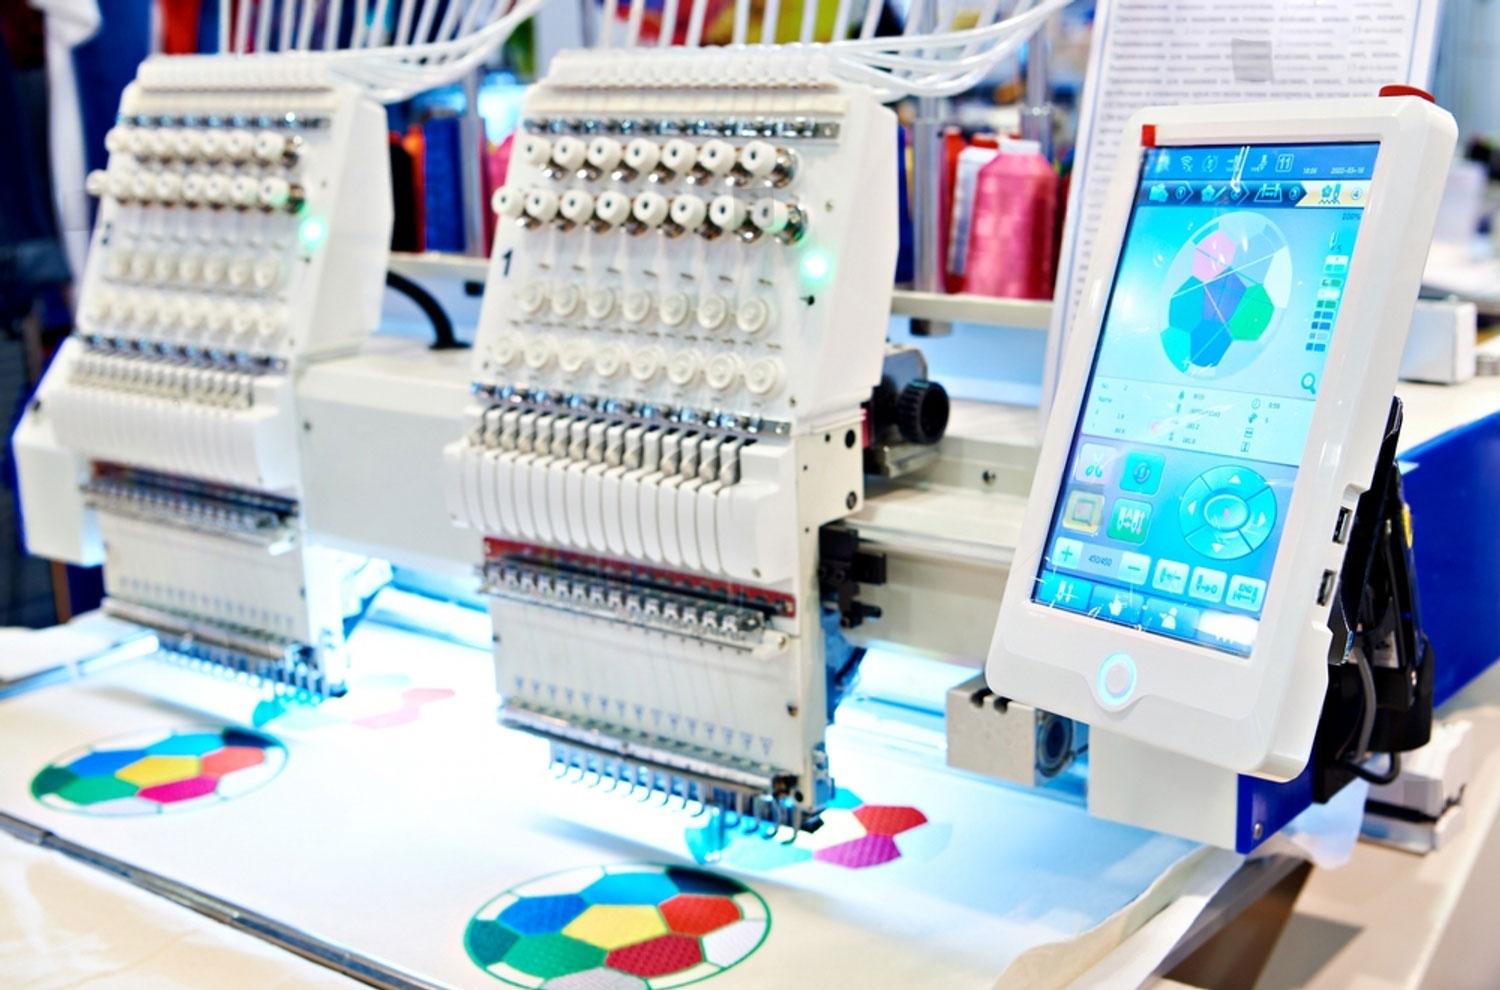
Step 12: You Stitch
With the file loaded on your machine, you run production with confidence. The design stitches smoothly. Colors register perfectly. Edges stay sharp.
Your clients receive beautiful products. Your brand looks professional. The journey from artwork to stitches is complete.
Why Professional Services Matter
The journey from artwork to stitches is complex. Every decision affects the final result. Professional digitizers make these decisions based on years of experience.
They understand fabric behavior. What works on denim fails on performance knit. They adjust accordingly.
They know machine capabilities. Different brands and models have quirks. They account for them.
They anticipate problems. Small text that might fill in. Fine lines that might break. They fix issues before they reach production.
They deliver consistency. The same logo on caps, jackets, and polos all stitch perfectly.
USA-Based Advantages
When you choose USA-based digitizing services, you gain additional benefits.
Time zone alignment means you communicate during working hours. Questions get answered immediately. Revisions happen fast.
Cultural understanding ensures your brand standards translate correctly. No misinterpretation of your requirements.
Accountability under US law protects your investment. You have recourse if something goes wrong.
Intellectual property protection keeps your designs secure. US companies respect copyright and data privacy.
Conclusion
The journey from artwork to stitches is fascinating and complex. It transforms flat designs into dimensional thread art through careful decisions about stitch types, angles, underlay, compensation, density, and pathing.
Professional embroidery digitizing services in the USA like Absolute Digitizing, Digitizing Buddy, Cool Embroidery Design, and Absolute Digitizer navigate this journey every day. They take your artwork and deliver files that stitch perfectly, every time.
Understanding the process helps you appreciate the value they provide. Every decision, every adjustment, every quality check contributes to the final result. When you receive a beautifully stitched garment, you are seeing the culmination of expertise, experience, and craft.
Your artwork deserves to become stitches that last. Professional digitizing makes that happen.