
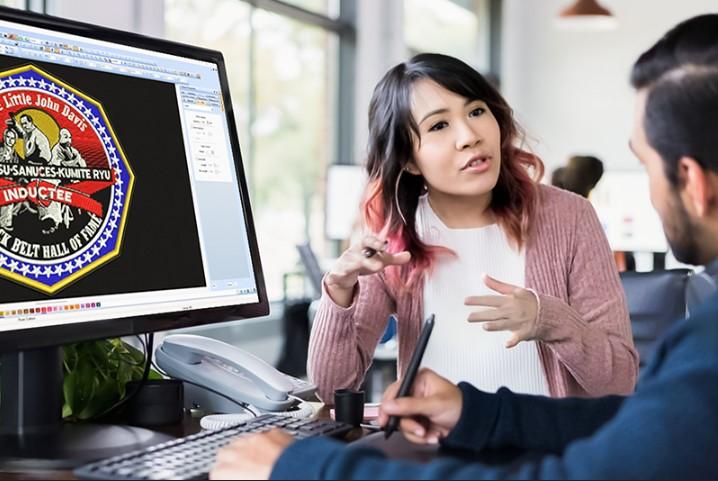
Working with images is fun. You can create logos, posters, and many cool designs. But not all images are ready for design work. Some look blurry. Some lose quality when you resize them. This can be a big problem.I have faced this issue many times. When I started design work, I used simple image files. But they did not look good when I printed them. That is when I learned how to Convert Image into EPS Format.
This simple step helped me get clean and sharp designs every time.In this guide, I will share what I learned. I will keep it simple and clear. You will learn easy tricks to turn your pictures into files that work well for design.
What Does It Mean to Convert an Image?
Image conversion means changing one file type into another. This helps your image work better for your needs.
Raster vs Vector Images
To understand conversion, you need to know two types of images.
Raster Images
These are common image files like JPG and PNG. They are made of tiny dots called pixels.
- Good for photos
- Lose quality when resized
Vector Images
These are special files like EPS, SVG, and AI.
- Made of paths, not pixels
- Stay sharp at any size
When you convert an image, you often change a raster image into a vector file.
Why You Need to Convert Images for Design
Not all images are ready for design work. Here are some common reasons why conversion is needed.
Better Print Quality
Vector files stay sharp. They are perfect for printing on shirts, banners, and signs.
Easy Editing
You can edit shapes, colors, and lines in vector files.
Resize Without Loss
You can make the image big or small. It will not lose quality.
Professional Look
Designs look clean and smooth. This is very important for clients.
My First Experience with Image Conversion
I remember my first project. I had to print a logo on a banner. The image looked fine on my screen. But when I printed it, it looked blurry.
I felt confused. I did not know what went wrong.
Then I learned about vector files. I converted my image into a vector format. I tried again.
This time, the print looked perfect. That moment taught me a big lesson. The right format makes a huge difference.
Easy Ways to Convert Images
You do not need to be an expert. There are simple ways to convert images.
Use Online Tools
Online tools are very easy to use.
Steps to Follow
- Upload your image
- Choose the output format
- Click convert
- Download the file
Benefits
- No install needed
- Fast process
- Simple interface
Use Design Software
Software tools give more control.
Popular Features
- Manual tracing
- Color editing
- Shape control
When to Use
- For detailed designs
- For complex images
Manual vs Automatic Conversion
There are two main ways to convert images.
Automatic Conversion
This method uses tools to convert images quickly.
Pros
- Fast
- Easy
- Good for simple images
Cons
- May lose details
- Not always accurate
Manual Conversion
This method uses tools where you trace the image yourself.
Pros
- High quality
- Better control
Cons
- Takes time
- Needs practice
Tips for Best Results
To get good results, follow these tips.
Use High-Quality Images
Start with a clear image. Low-quality images give poor results.
Keep It Simple
Simple images are easier to convert.
Adjust Colors
Limit the number of colors. This makes the design clean.
Check Edges
Smooth edges give a better look.
Common Mistakes to Avoid
Many beginners make small mistakes. Avoid these to save time.
Using Low-Resolution Images
These images do not convert well.
Ignoring File Settings
Wrong settings can ruin your design.
Not Checking Output
Always review your final file.
Overcomplicating Design
Too many details can cause problems.
Best File Formats for Professional Use
Different formats serve different needs.
EPS Format
- Great for printing
- Widely used in design
SVG Format
- Good for web
- Works well with icons
AI Format
- Used in design software
- Best for editing
How to Choose the Right Format
Choosing the right format is important.
For Printing
Use formats that keep quality high.
For Web
Choose formats that load fast.
For Editing
Pick formats that allow changes.
Simple Workflow for Image Conversion
Follow this easy process every time.
Step-by-Step Guide
Step 1
Choose your image.
Step 2
Check image quality.
Step 3
Select a tool.
Step 4
Convert the image.
Step 5
Review the output.
Step 6
Save the file.
Advanced Tricks for Better Design
Once you learn the basics, try these tips.
Clean Up the Image
Remove noise and unwanted parts.
Use Contrast
Good contrast helps in tracing.
Simplify Shapes
This makes the design neat.
Test Different Tools
Some tools work better for certain images.
Building Trust in Your Design Work
If you work with clients, trust is very important.
Deliver Quality Work
Always check your files before sending.
Use Reliable Tools
Choose tools that give good results.
Keep Learning
Stay updated with new methods.
Why This Skill Matters
Image conversion is a key skill for designers.
It helps you work faster. It improves your designs. It gives you more control.
If you want to grow in design, you must learn this skill.
Real-Life Uses of Converted Images
You can use converted images in many ways.
Logo Design
Create logos that look sharp at any size.
Print Projects
Use for banners, shirts, and posters.
Web Design
Use for icons and graphics.
Branding
Keep your brand look clean and strong.
Final Thoughts
Working with images can be simple. You just need the right steps.
When you convert your images into the right format, your work improves a lot. Your designs look clean. Your prints look sharp.
I have used these methods many times. They work well. They save time. They make design work easy.
Start with simple images. Use easy tools. Practice often.
Soon, you will be able to turn any picture into a professional design file without stress.