
Shower Drain Cover China products are known for their durability, functionality, and modern design. Whether you're upgrading your bathroom or replacing an old drain cover, proper installation is essential for optimal performance. This guide provides you with clear, step-by-step instructions on how to install a shower drain cover effectively.
Step 1: Gather Your Tools and Materials
Before starting the installation, ensure that you have all the necessary tools and materials ready. You will need:
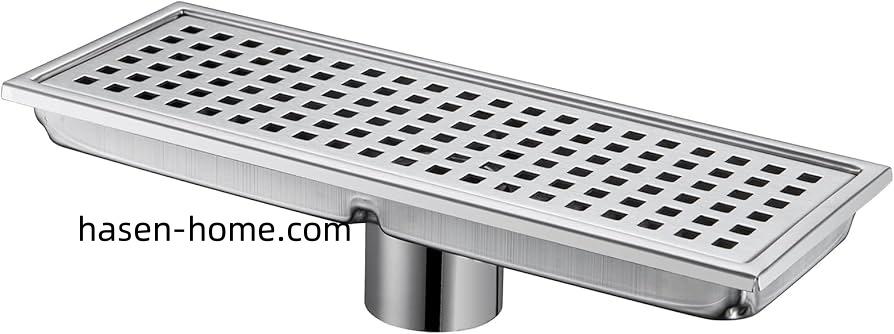
- A Shower Drain Cover China
- A measuring tape
- A tile cutter (if installing over tiles)
- A rubber mallet
- Waterproof sealant or adhesive
- A screwdriver
- A level
Step 2: Measure the Drain Area
Accurately measuring the area where the drain cover will be installed is crucial. Use a measuring tape to ensure that the drain hole matches the size of the shower drain cover. If the hole is too small, you will need to cut the surrounding material carefully. If the hole is too large, you may need to use a base or additional fitting to ensure a tight seal.
Step 3: Prepare the Drain Area
If you’re installing the drain cover over ceramic or stone tiles, ensure that the area around the drain is free from debris. Clean the area thoroughly to ensure a good adhesive bond. If the surface is uneven or the tiles have been installed poorly, use a tile cutter to trim them for a better fit.
Step 4: Apply Waterproof Adhesive or Sealant
Next, apply a thin layer of waterproof adhesive or sealant around the perimeter of the drain hole. This will help to keep the drain cover secure and prevent any water leakage. Be careful not to over-apply, as excess sealant may interfere with the fitting.
Step 5: Position the Drain Cover
Carefully align the Shower Drain Cover China with the drain hole, ensuring that it sits flush with the surrounding floor. Gently press down on the cover to ensure that it fits securely into place. If the cover doesn’t fit snugly, you may need to adjust the placement or add more sealant for a better fit.
Step 6: Secure the Drain Cover
For most shower drain covers, you’ll need to secure the cover with screws or fasteners. Use a screwdriver to tighten the screws around the cover. Be sure not to overtighten, as this can cause the cover to crack. If your cover doesn’t have screw holes, you can secure it using additional adhesive.
Step 7: Test for Leaks
Once the drain cover is securely in place, it’s time to test for leaks. Turn on the shower and check around the edges of the cover to ensure no water is leaking through. If you find any leaks, remove the cover and reapply sealant to ensure a perfect fit.
Step 8: Final Check
Once the drain cover is installed and the area is dry, do a final check to ensure everything is level and secure. The cover should be firmly in place and should allow water to drain efficiently without any issues.
Conclusion
Installing a shower drain cover is a straightforward process when you follow the proper steps. Whether you're working with tiles, concrete, or vinyl, careful measurements, proper adhesives, and secure placement are key to achieving long-lasting, effective drainage. By using high-quality products like Shower Drain Cover China, you ensure the durability and efficiency of your bathroom drainage system.
Hasen-home specializes in premium-quality shower drain covers designed for easy installation and long-lasting performance. We offer a wide range of products suitable for different types of flooring and installation needs, ensuring your bathroom stays functional and stylish.
To explore our products and learn more, visit https://www.hasen-home.com/news/shower-channle-drain-factory-zhejiang-hasen.html